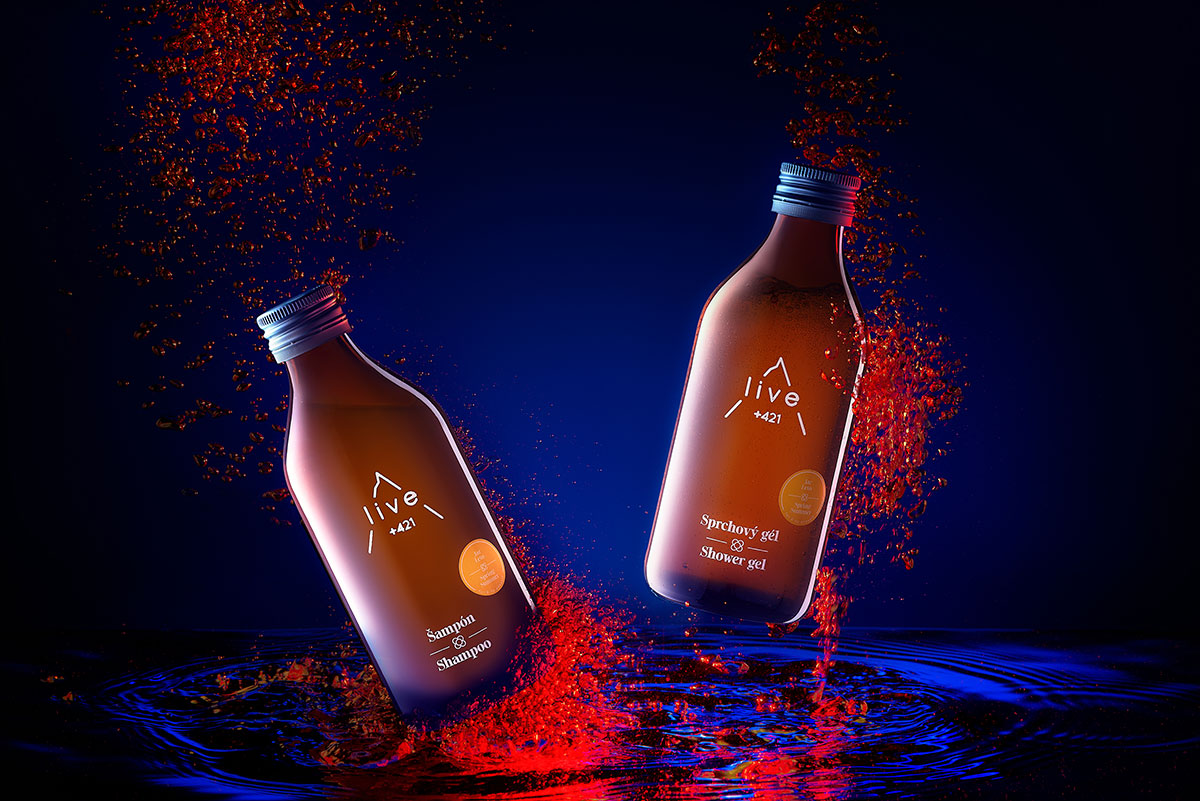
Cenet Whispers
Your source for the latest insights and trends.
Picture Perfect: Capturing Products Like a Pro
Unlock expert tips for stunning product photography that grabs attention and boosts sales—transform your images from bland to breathtaking!
Essential Tips for Lighting in Product Photography
Effective lighting is a crucial aspect of product photography that can significantly enhance the visual appeal of your images. Using natural light is often a great starting point; shooting near windows can provide soft, diffused lighting that helps to minimize harsh shadows. However, if you are shooting indoors or in low-light conditions, consider investing in artificial lighting setups such as softboxes or LED lights. These lighting solutions allow you to control the intensity and direction of the light, giving you the flexibility to achieve the desired effect for your products.
Another essential tip is to pay attention to the color temperature of your lights. Ideally, you want to match your light sources to create a consistent color palette throughout your photographs. For instance, using daylight-balanced bulbs can help prevent any unwanted color casts, ensuring that the colors of your product remain true to life. Finally, don't forget to experiment with different lighting angles, such as side or back lighting, to highlight specific features of your products and add depth to your images.

How to Choose the Right Background for Your Product Shots
Choosing the right background for your product shots is essential in highlighting the features of your products. A suitable background not only enhances the visual appeal of your images but also helps in creating a consistent theme for your brand. When selecting a background, consider the color, texture, and style that complements your product. For example, if you’re photographing vibrant or colorful items, a neutral background, such as white or gray, can make your products stand out more effectively. Conversely, if your product is minimalistic, a textured background can add depth and interest without overpowering the product itself.
Another crucial factor to consider is the context in which your product will be used. Depending on your target audience, you may want to create an environment that resonates with their lifestyle. For instance, if you sell outdoor gear, incorporating natural elements like wood or stone in your background can create a cohesive look that appeals to nature enthusiasts. It's also important to remember the lighting; natural light can soften shadows and highlight colors, making your product more appealing. As you plan your product shots, take time to experiment with different backgrounds to find the perfect match that enhances your overall visual narrative.
5 Common Mistakes to Avoid in Product Photography
When it comes to product photography, avoiding common mistakes is crucial for ensuring high-quality images that effectively showcase your products. One frequent error is neglecting proper lighting. Poor lighting can lead to unflattering shadows and an inaccurate representation of the product's colors. Instead, always opt for natural light or use softboxes to create even, diffused lighting that highlights the product's features.
Another mistake often made in product photography is cluttered backgrounds. A busy backdrop can distract potential customers from the product itself. Aim for a clean and simple background that complements your product. Additionally, make sure to pay attention to composition; use the rule of thirds to create visually appealing images. By addressing these common issues, you can significantly enhance the effectiveness of your product photography.